Here’s a quick, easy DIY that’s perfect for a gift! Everyone needs new phone cases, right?
Materials:
-Plain white phone case
-Washi tape of your choice
-Craft knife & cutting surface)
-Mod Podge
-Stickers, gems, or other things for decoration
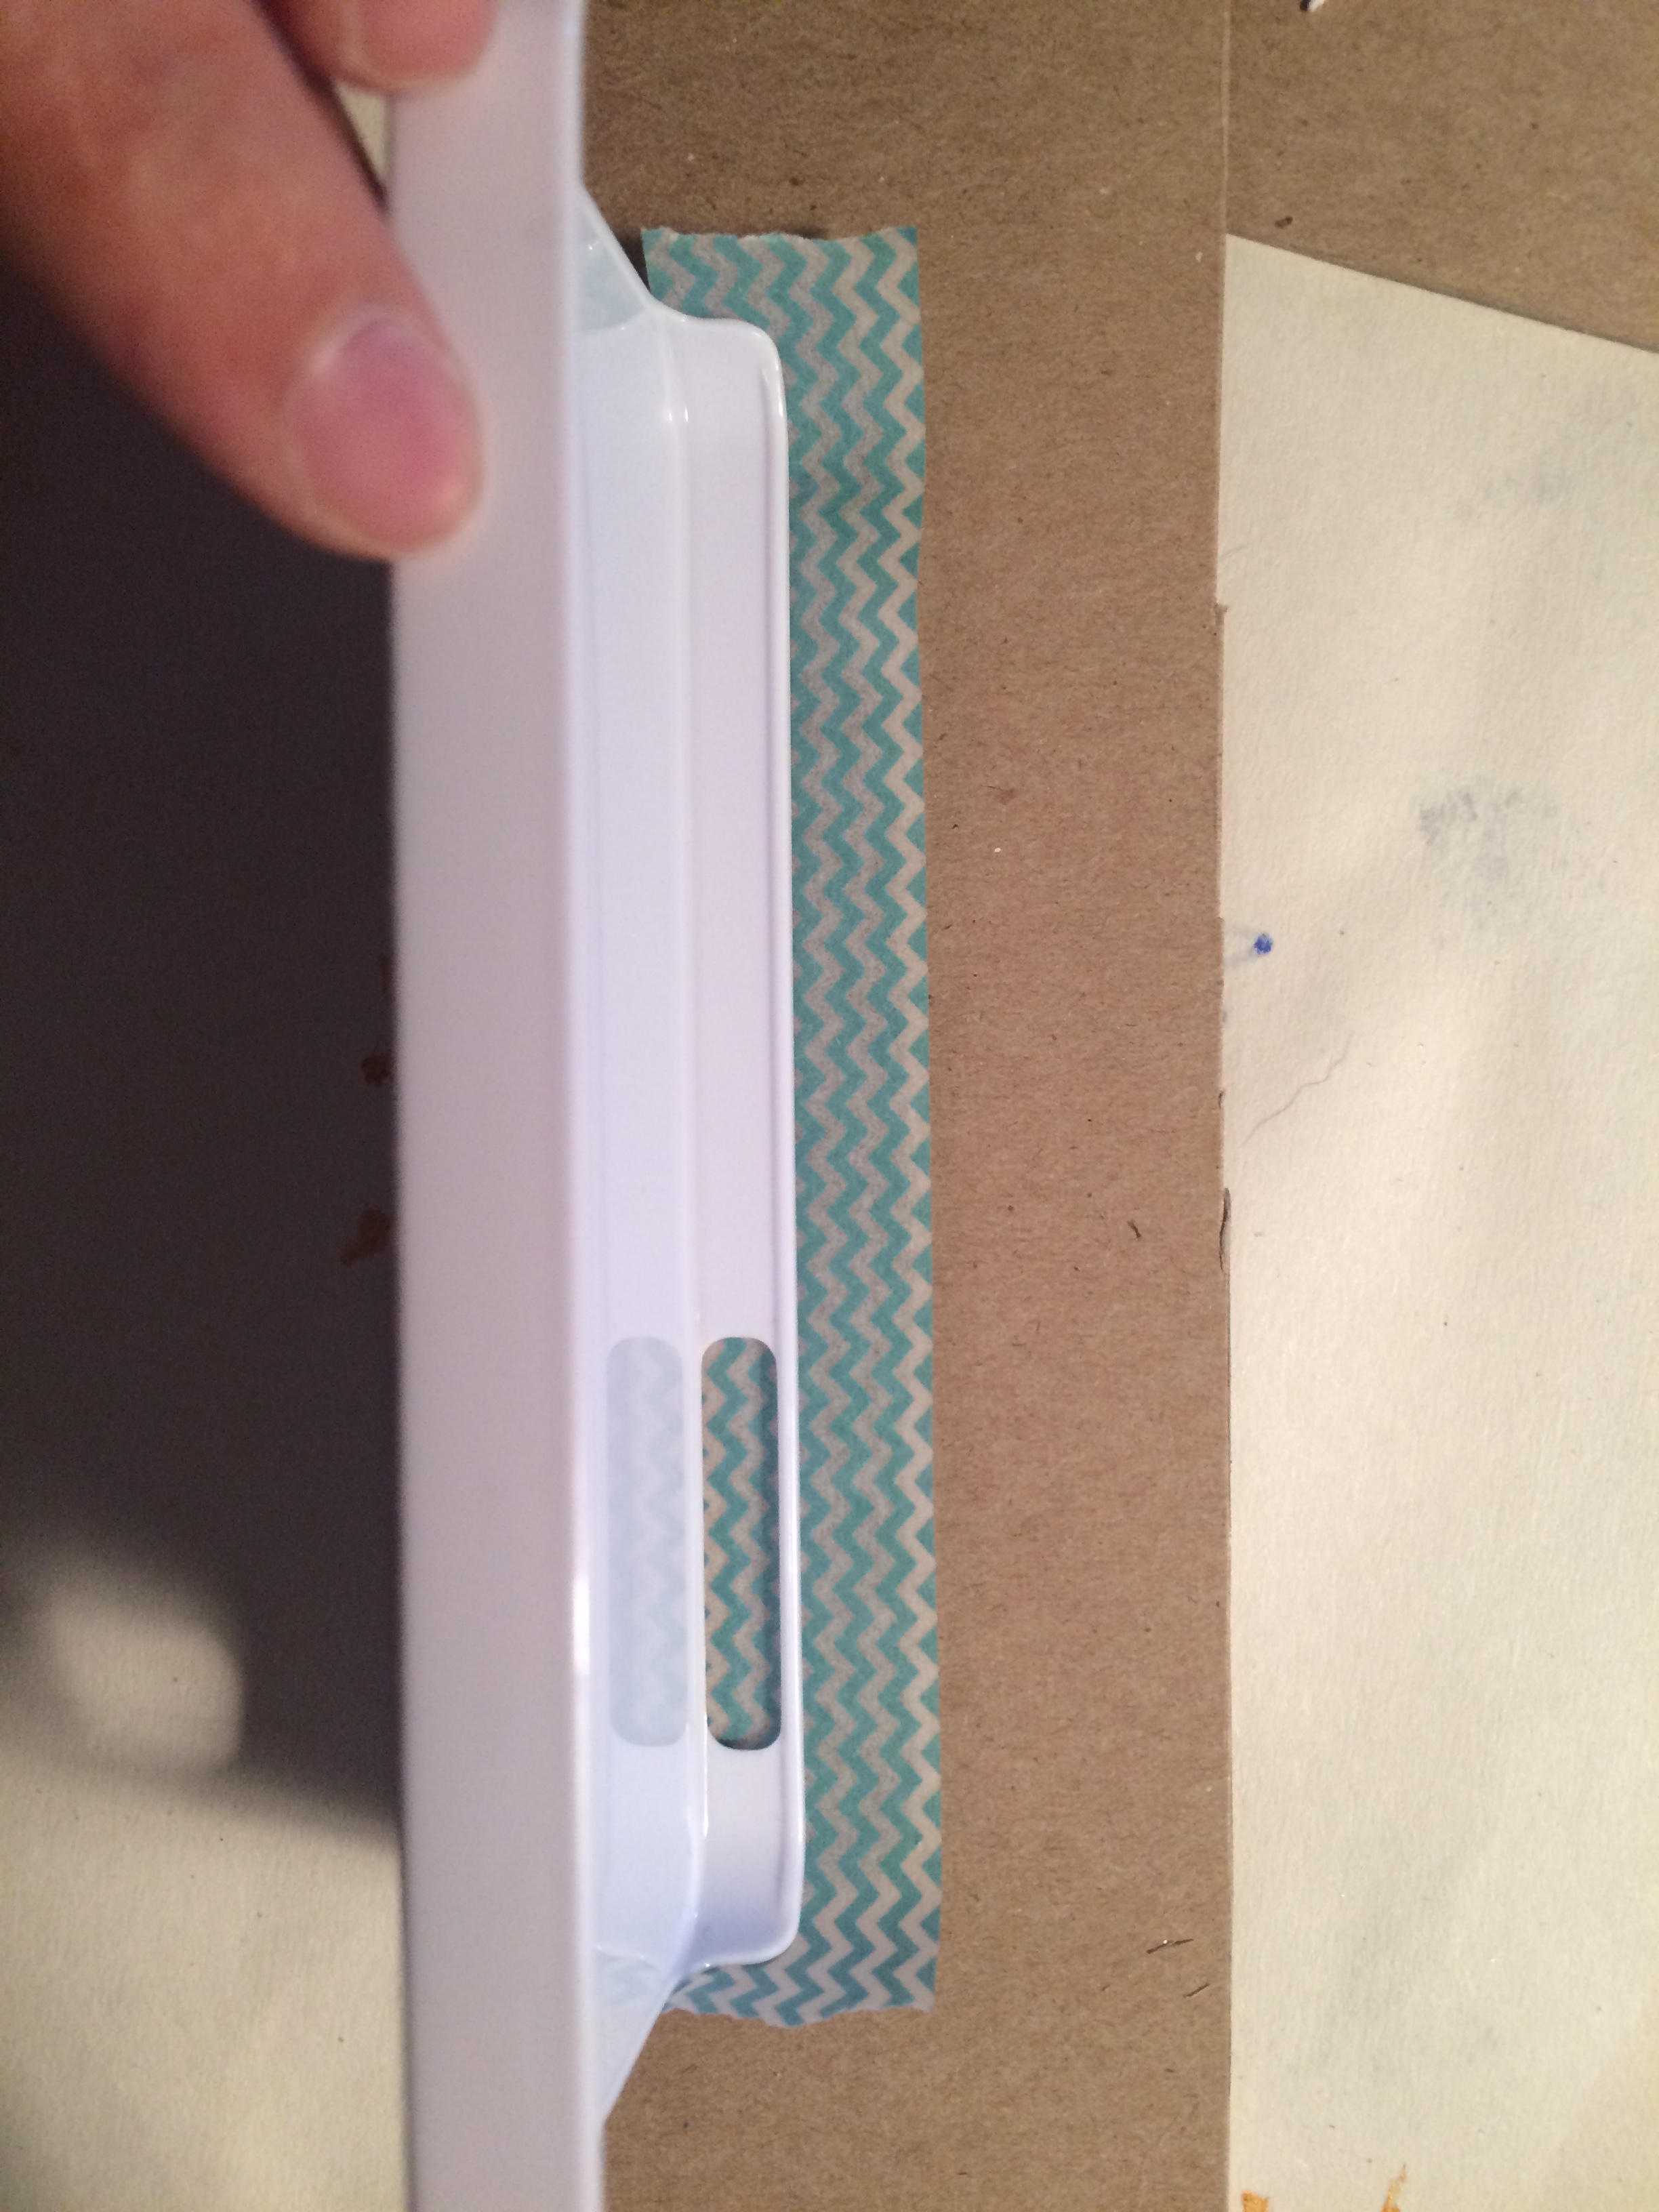
1. Put strips of washi tape straight onto the case, slightly bigger than the case. Be sure everything is lined up, and leave the wash tape edges hanging free on the top and bottom.
2. In the best angle you can get, trim off the excess washi tape with the craft knife. When you get to hard-to-reach places like the volume area, the same process applies, it just takes a little longer.
3. Put any additional decorations straight on the washi tape, unless it’s something that needs more preparation (in which case, do that).
4. Once everything is how you want it, paint 2-3 thin layers of Mod Podge over it to help it last longer. I only used one layer, but would definitely recommend more!
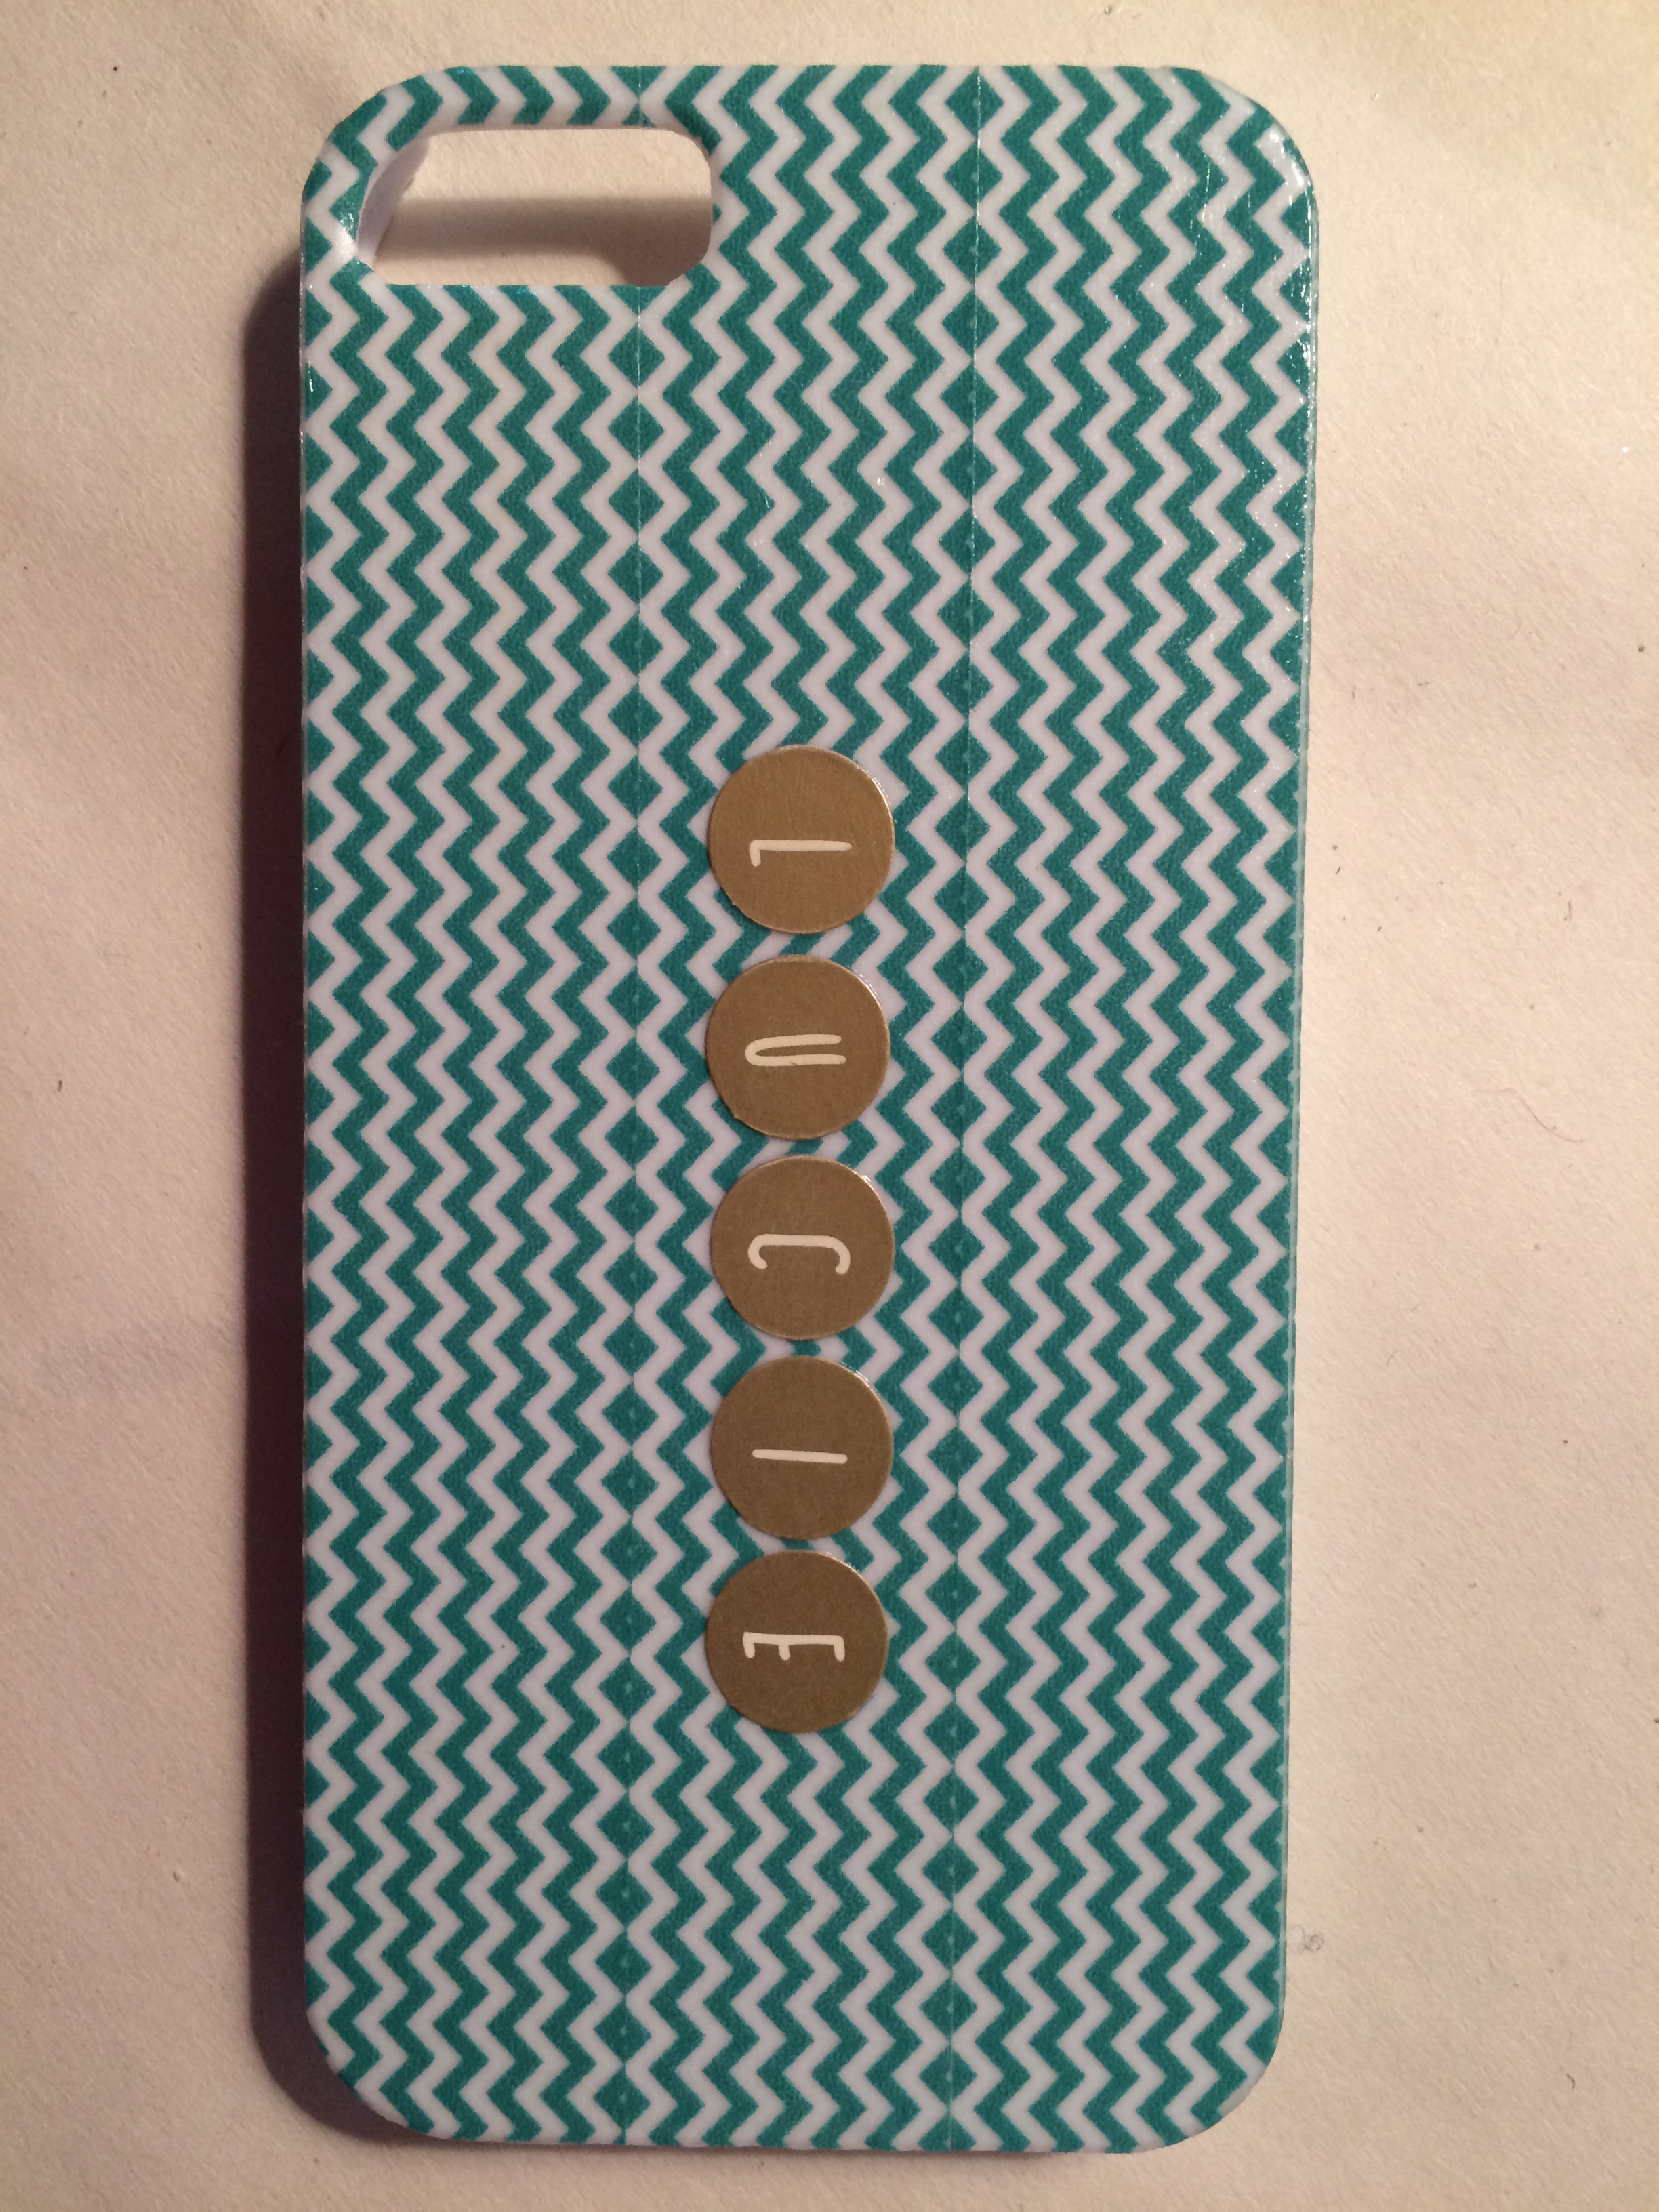
That’s it! What craft trends are you interested in now? I LOVE the gold, which I tried to incorporate through the stickers on this case. 🙂
Also, guys please comment on this: Do you like reading these easy DIYs, or would you rather all of my crafting posts be more difficult?