Hiiiii! Whew, I’m so glad I’m back! Hopefully I won’t be MIA again…like ever.
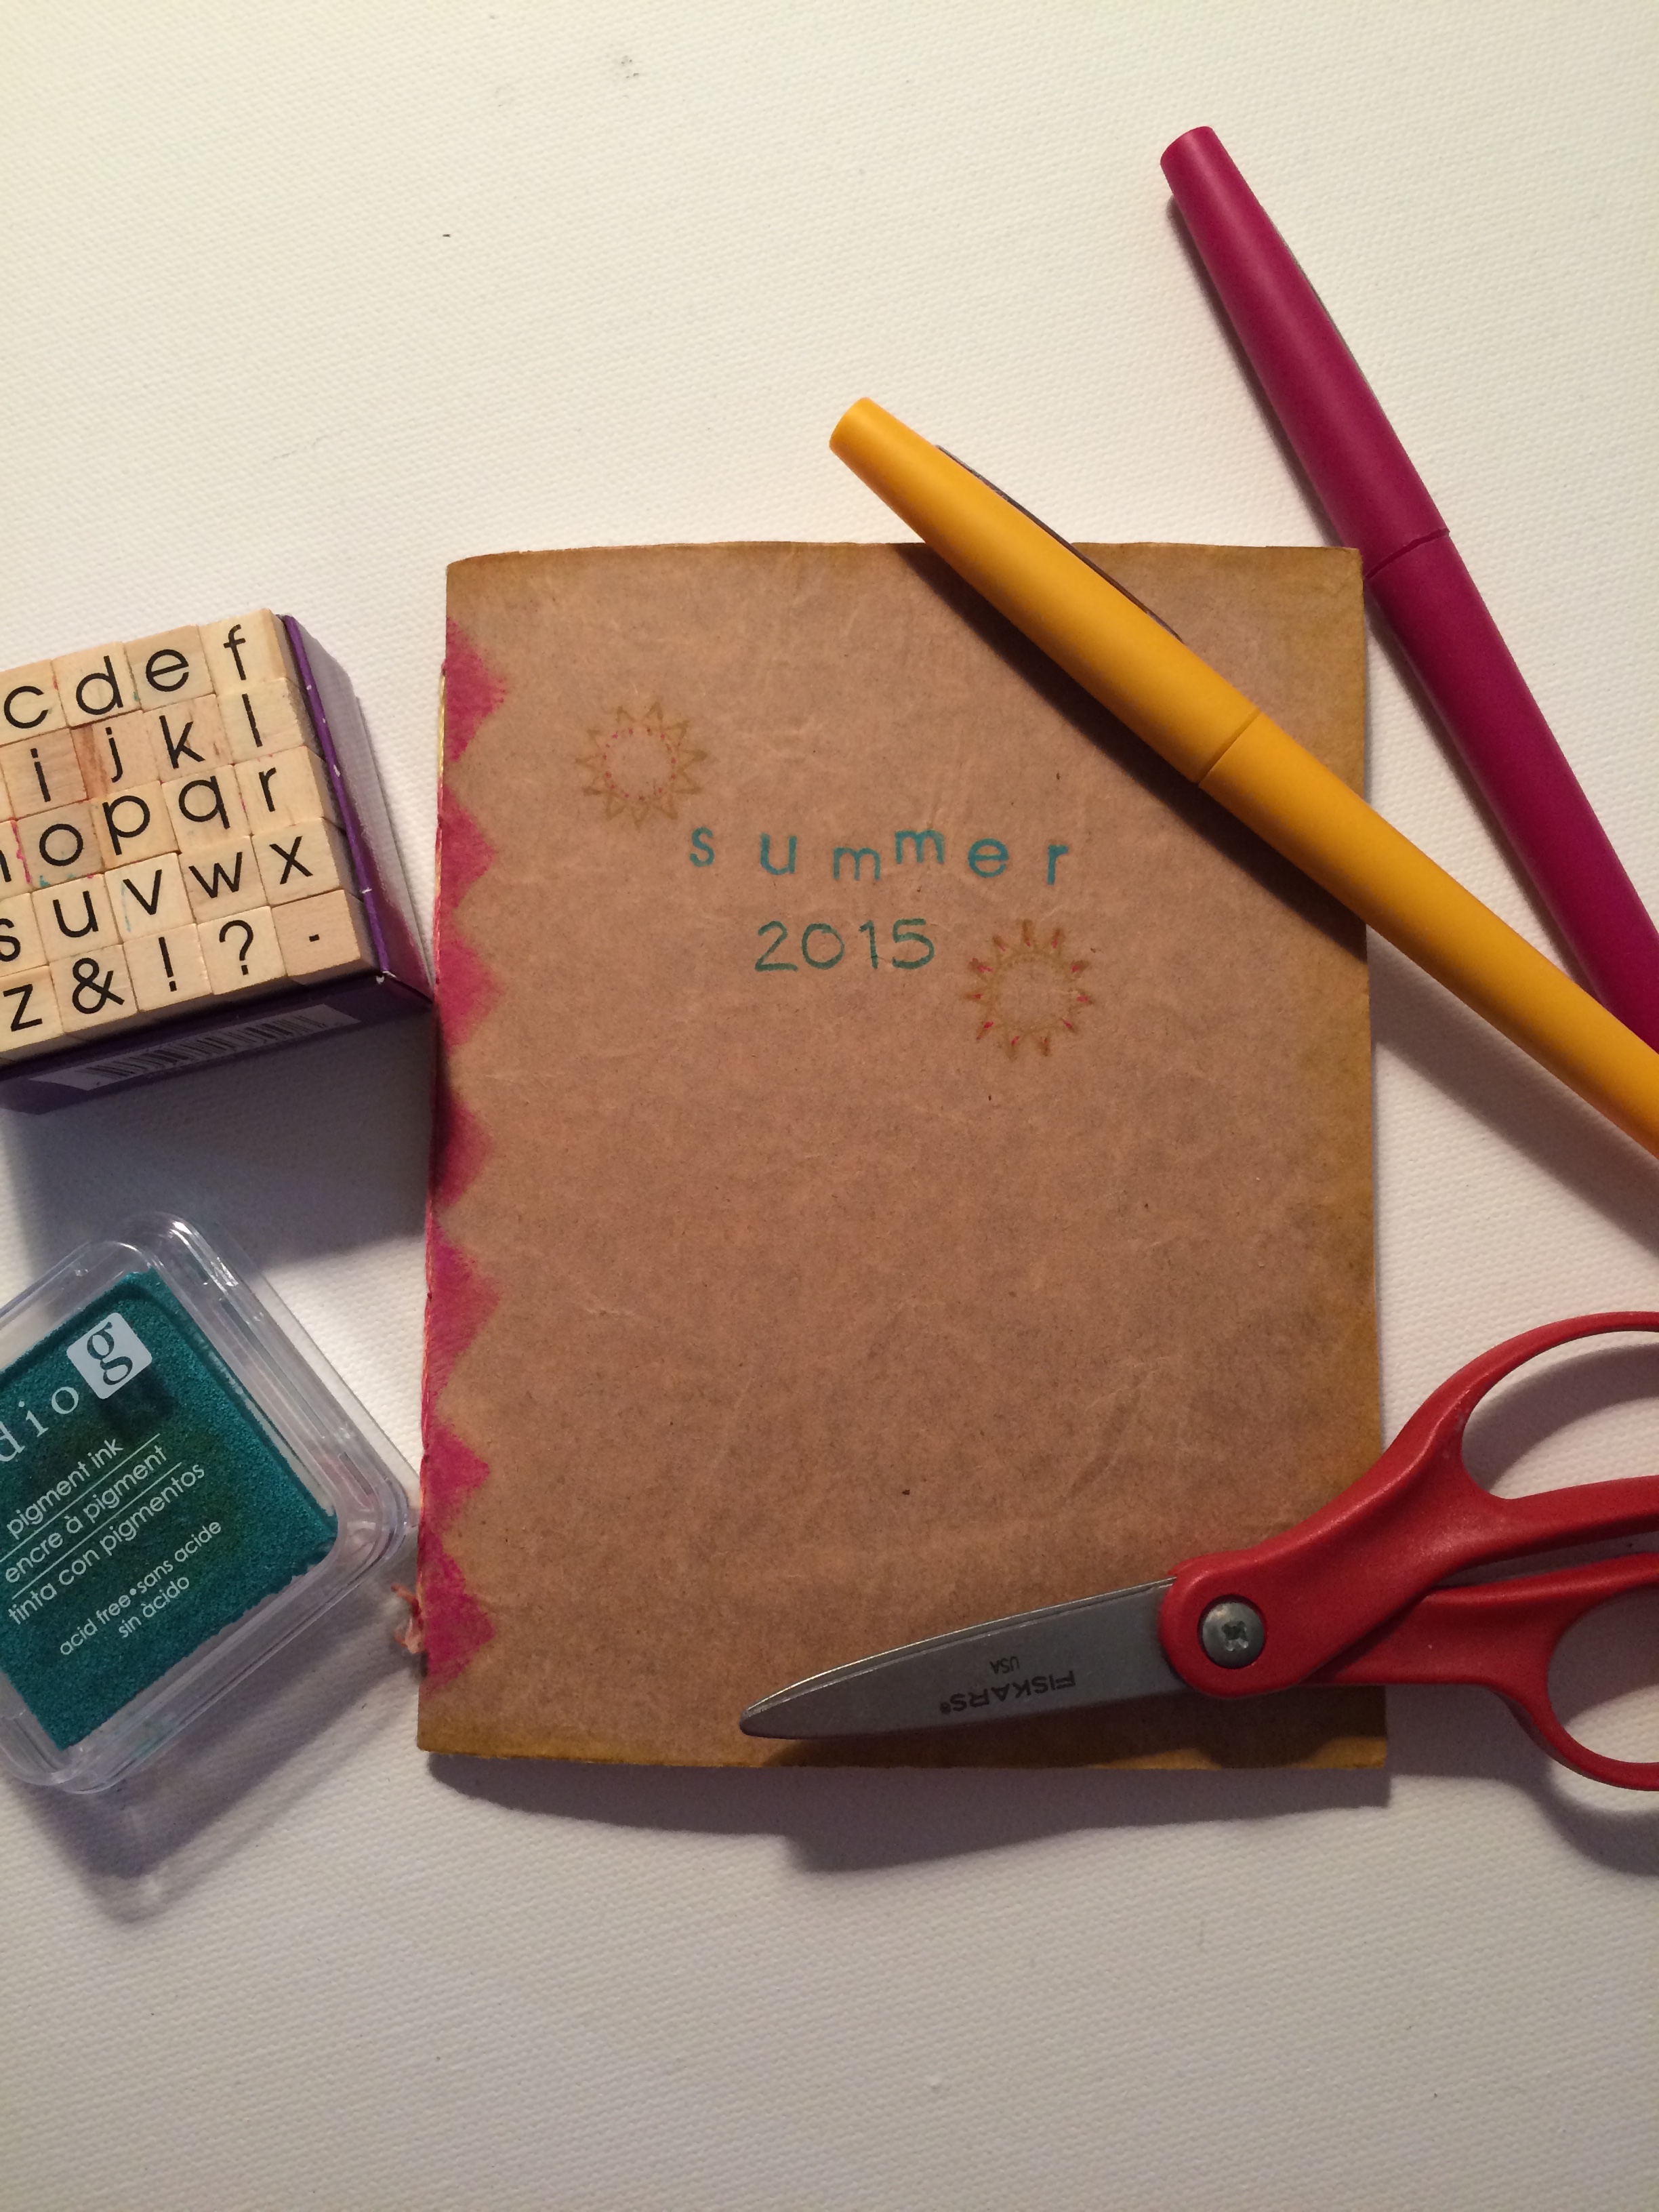
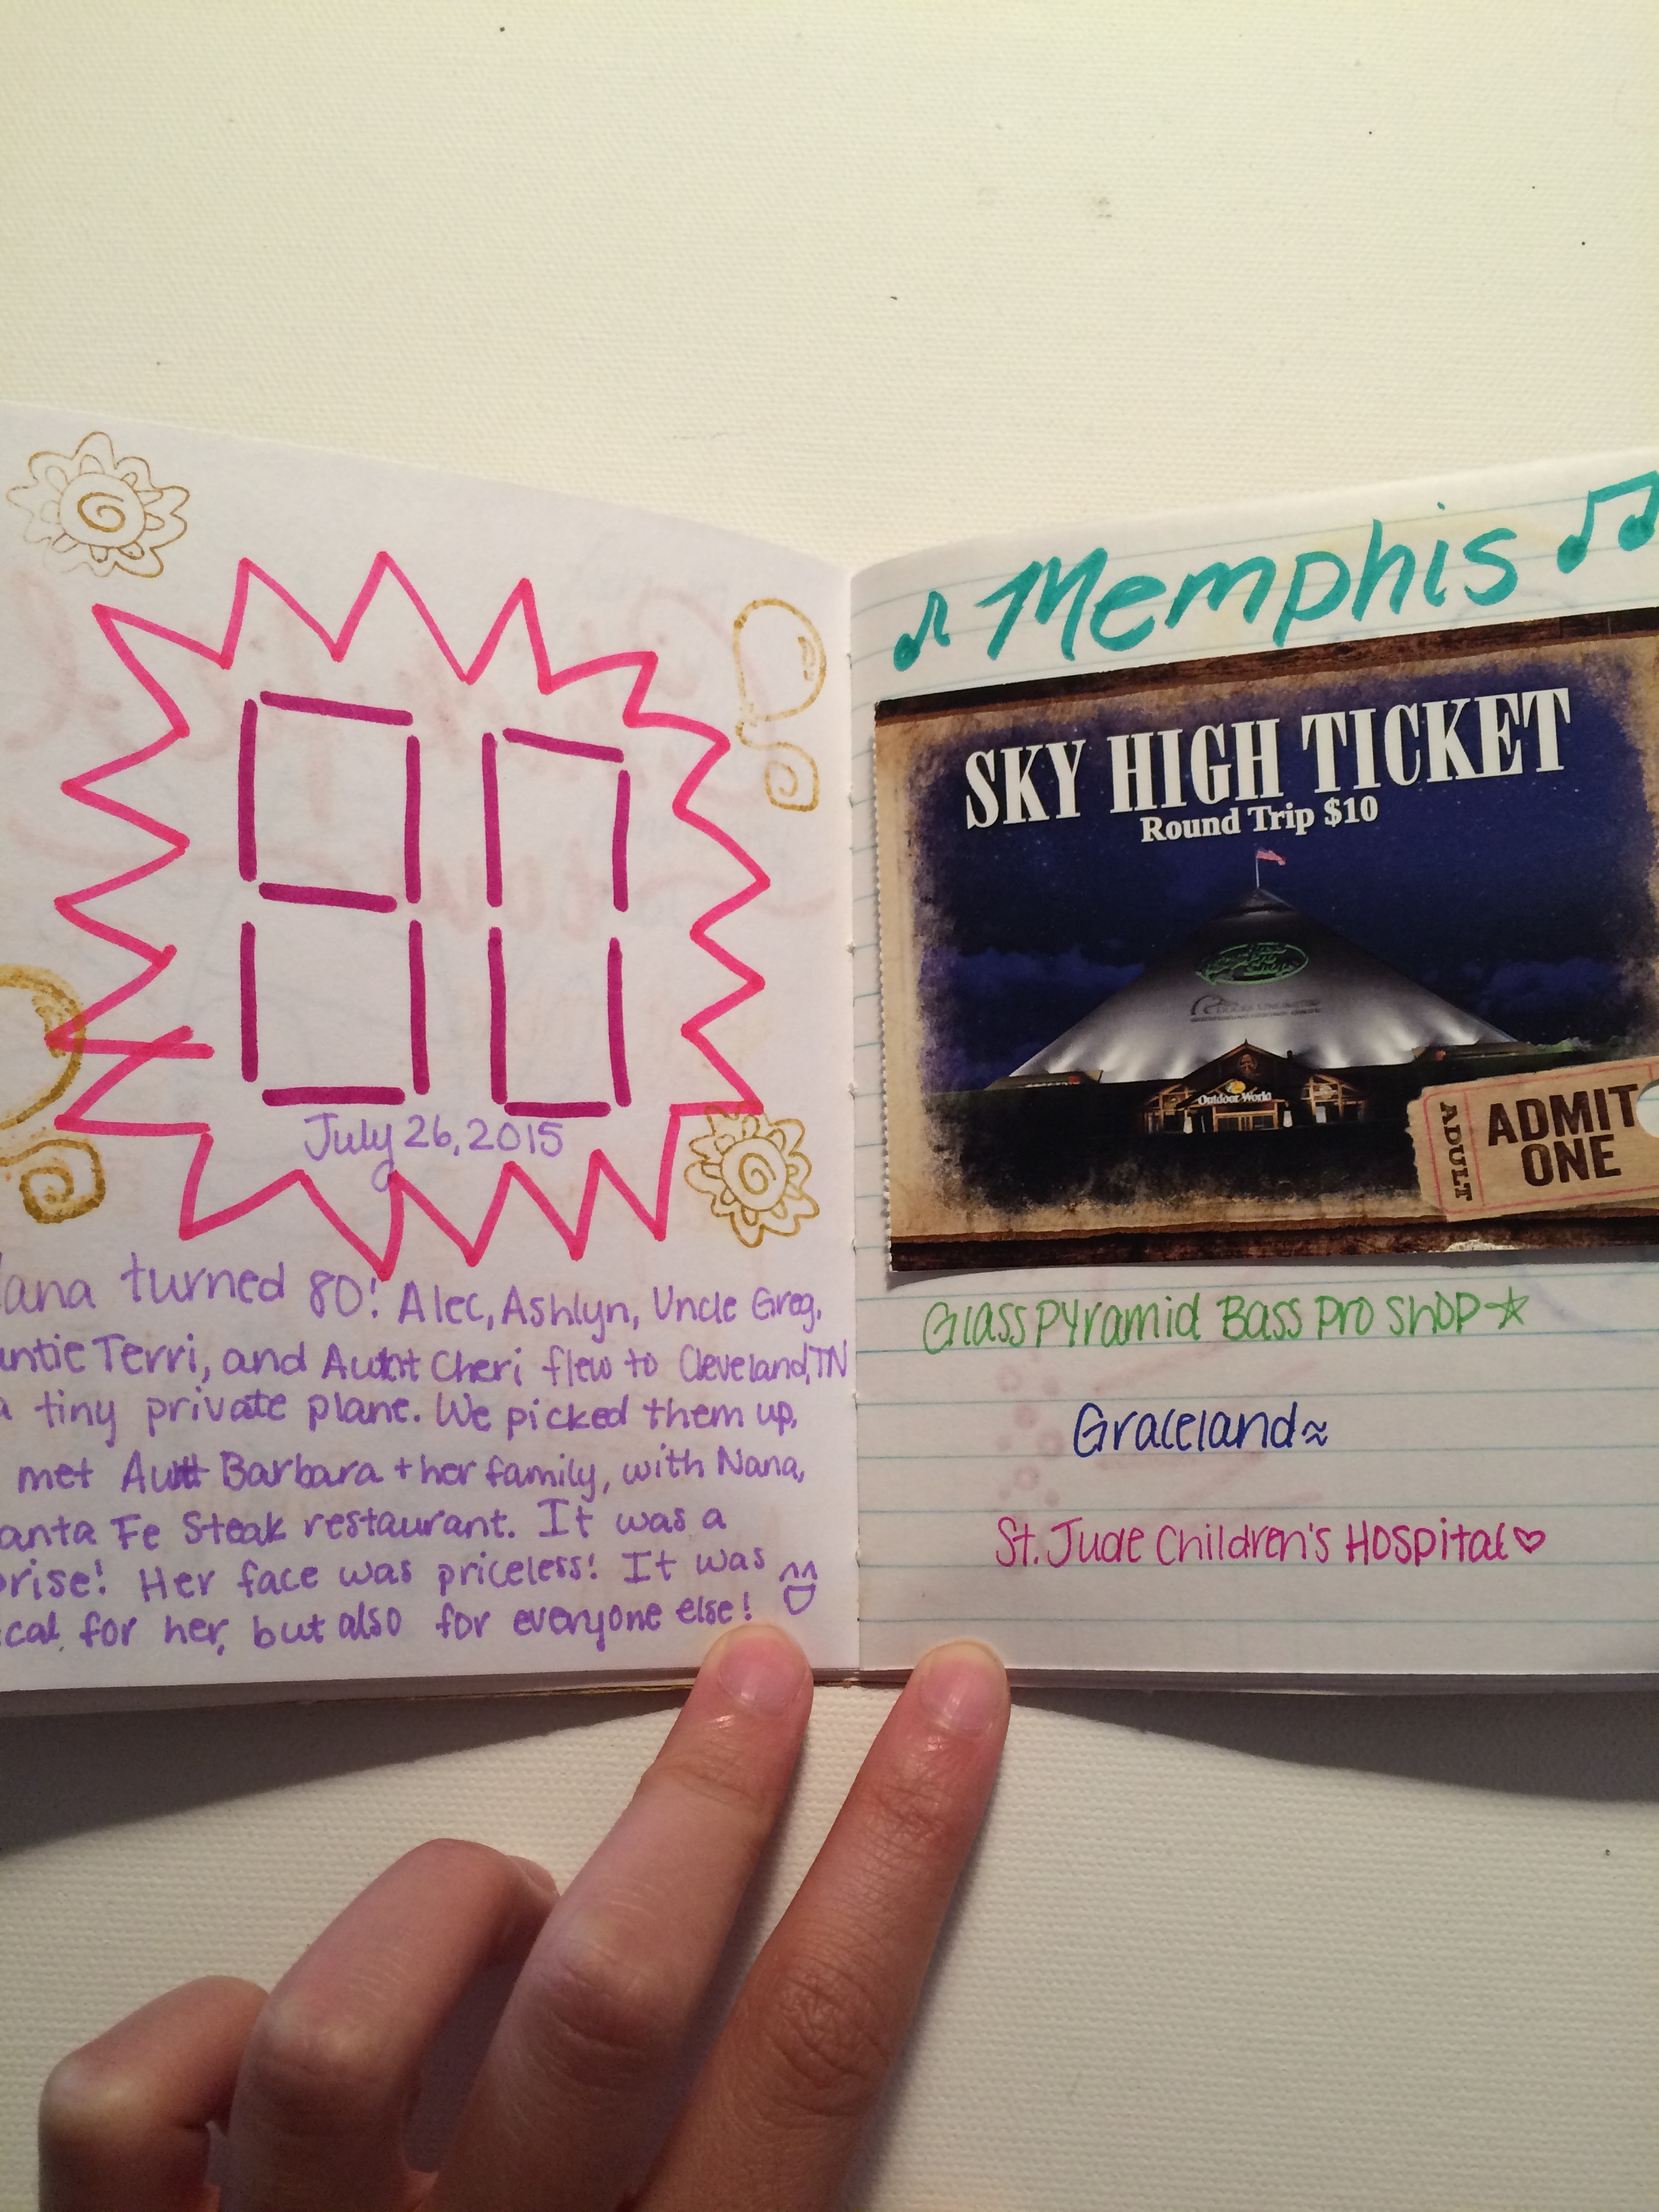
SO! Let’s get started! Over the summer, I logged my adventures in a little notebook that I made. The notebook is super easy because it’s so small- simply cut out pieces of paper double the size you want your notebook to be, then sew up the midline (the spine of your book) with a needle and embroidery thread. That’s it! Seriously, you just made your own notebook!
Hiiiii! Whew, I’m so glad I’m back! Hopefully I won’t be MIA again…like ever.
SO! Let’s get started! Over the summer, I logged my adventures in a little notebook that I made. The notebook is super easy because it’s so small- simply cut out pieces of paper double the size you want your notebook to be, then sew up the midline (the spine of your book) with a needle and embroidery thread. That’s it! Seriously, you just made your own notebook!
Now, for awesome decorating:

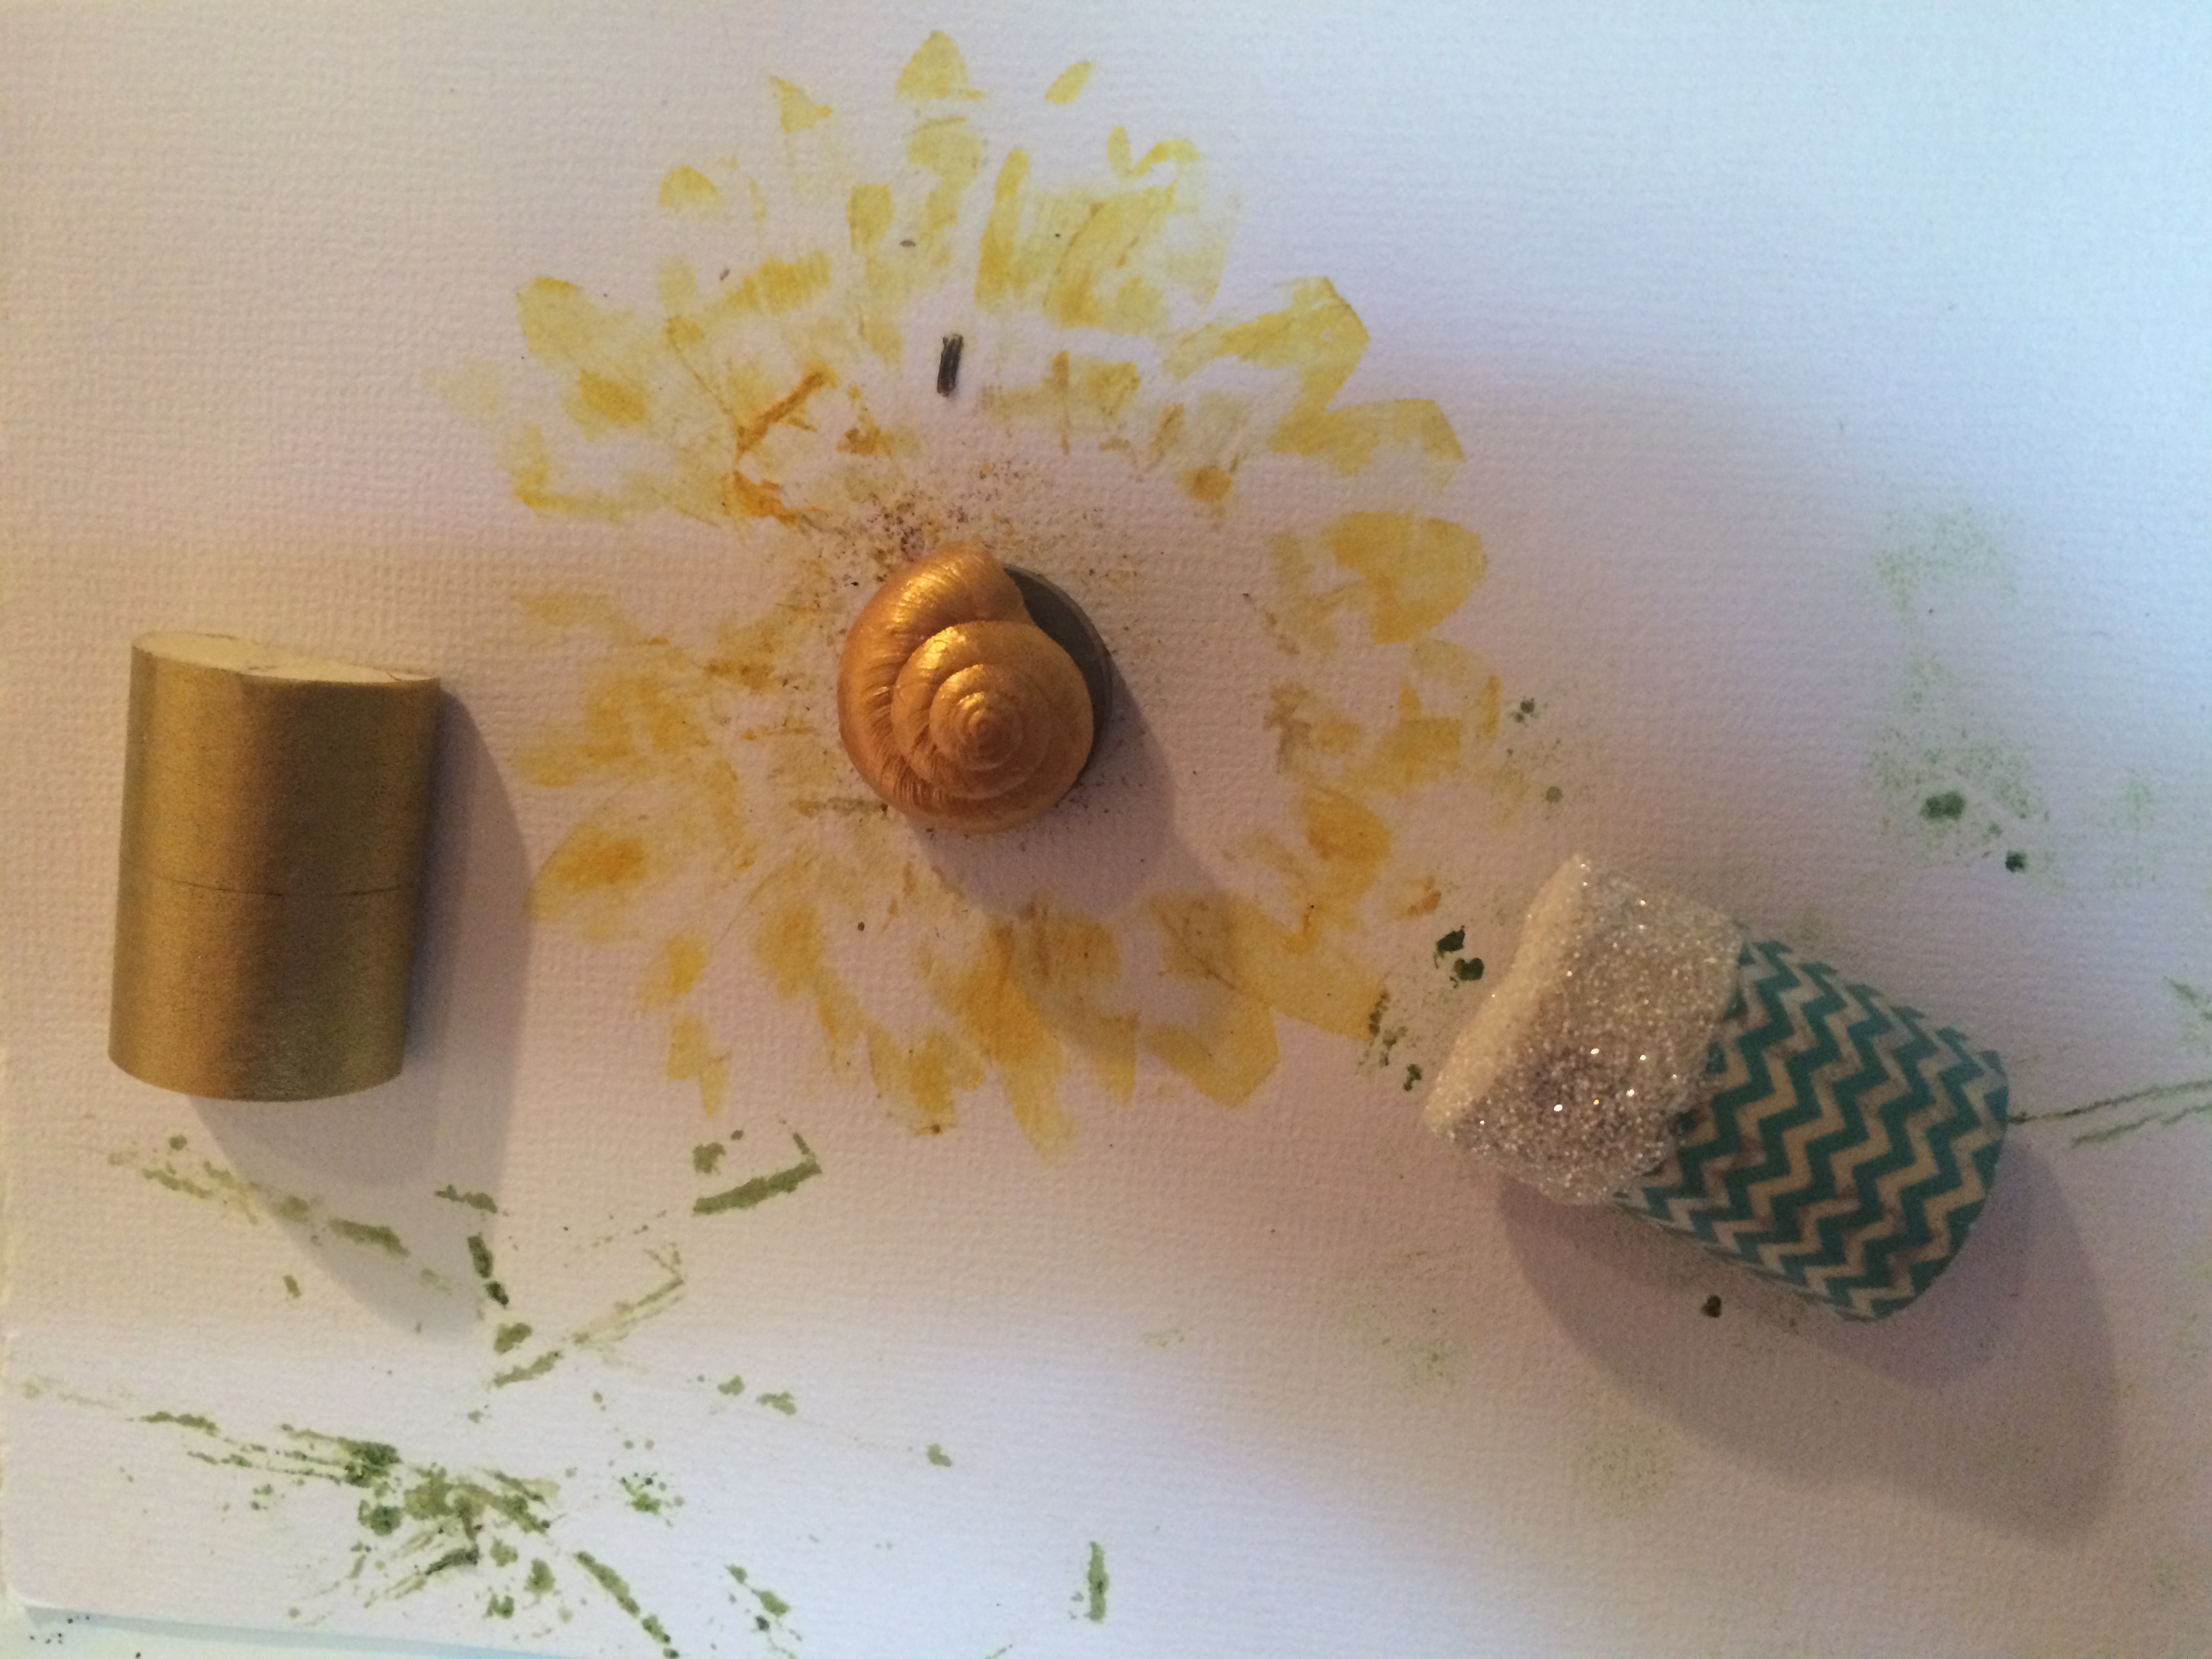
Supplies:
-Thin markers & Pens
-Scissors
-Tape (Clear Scotch tape & Washi tape)
-Stamps and Stamp Pads
-Colored Pencils
-Stickers
Of course these are just the things I used; you could get so creative with this project! If you’re using media like thick markers and paints, just keep that in mind as you’re making your notebook so you can create the pages with thicker paper!
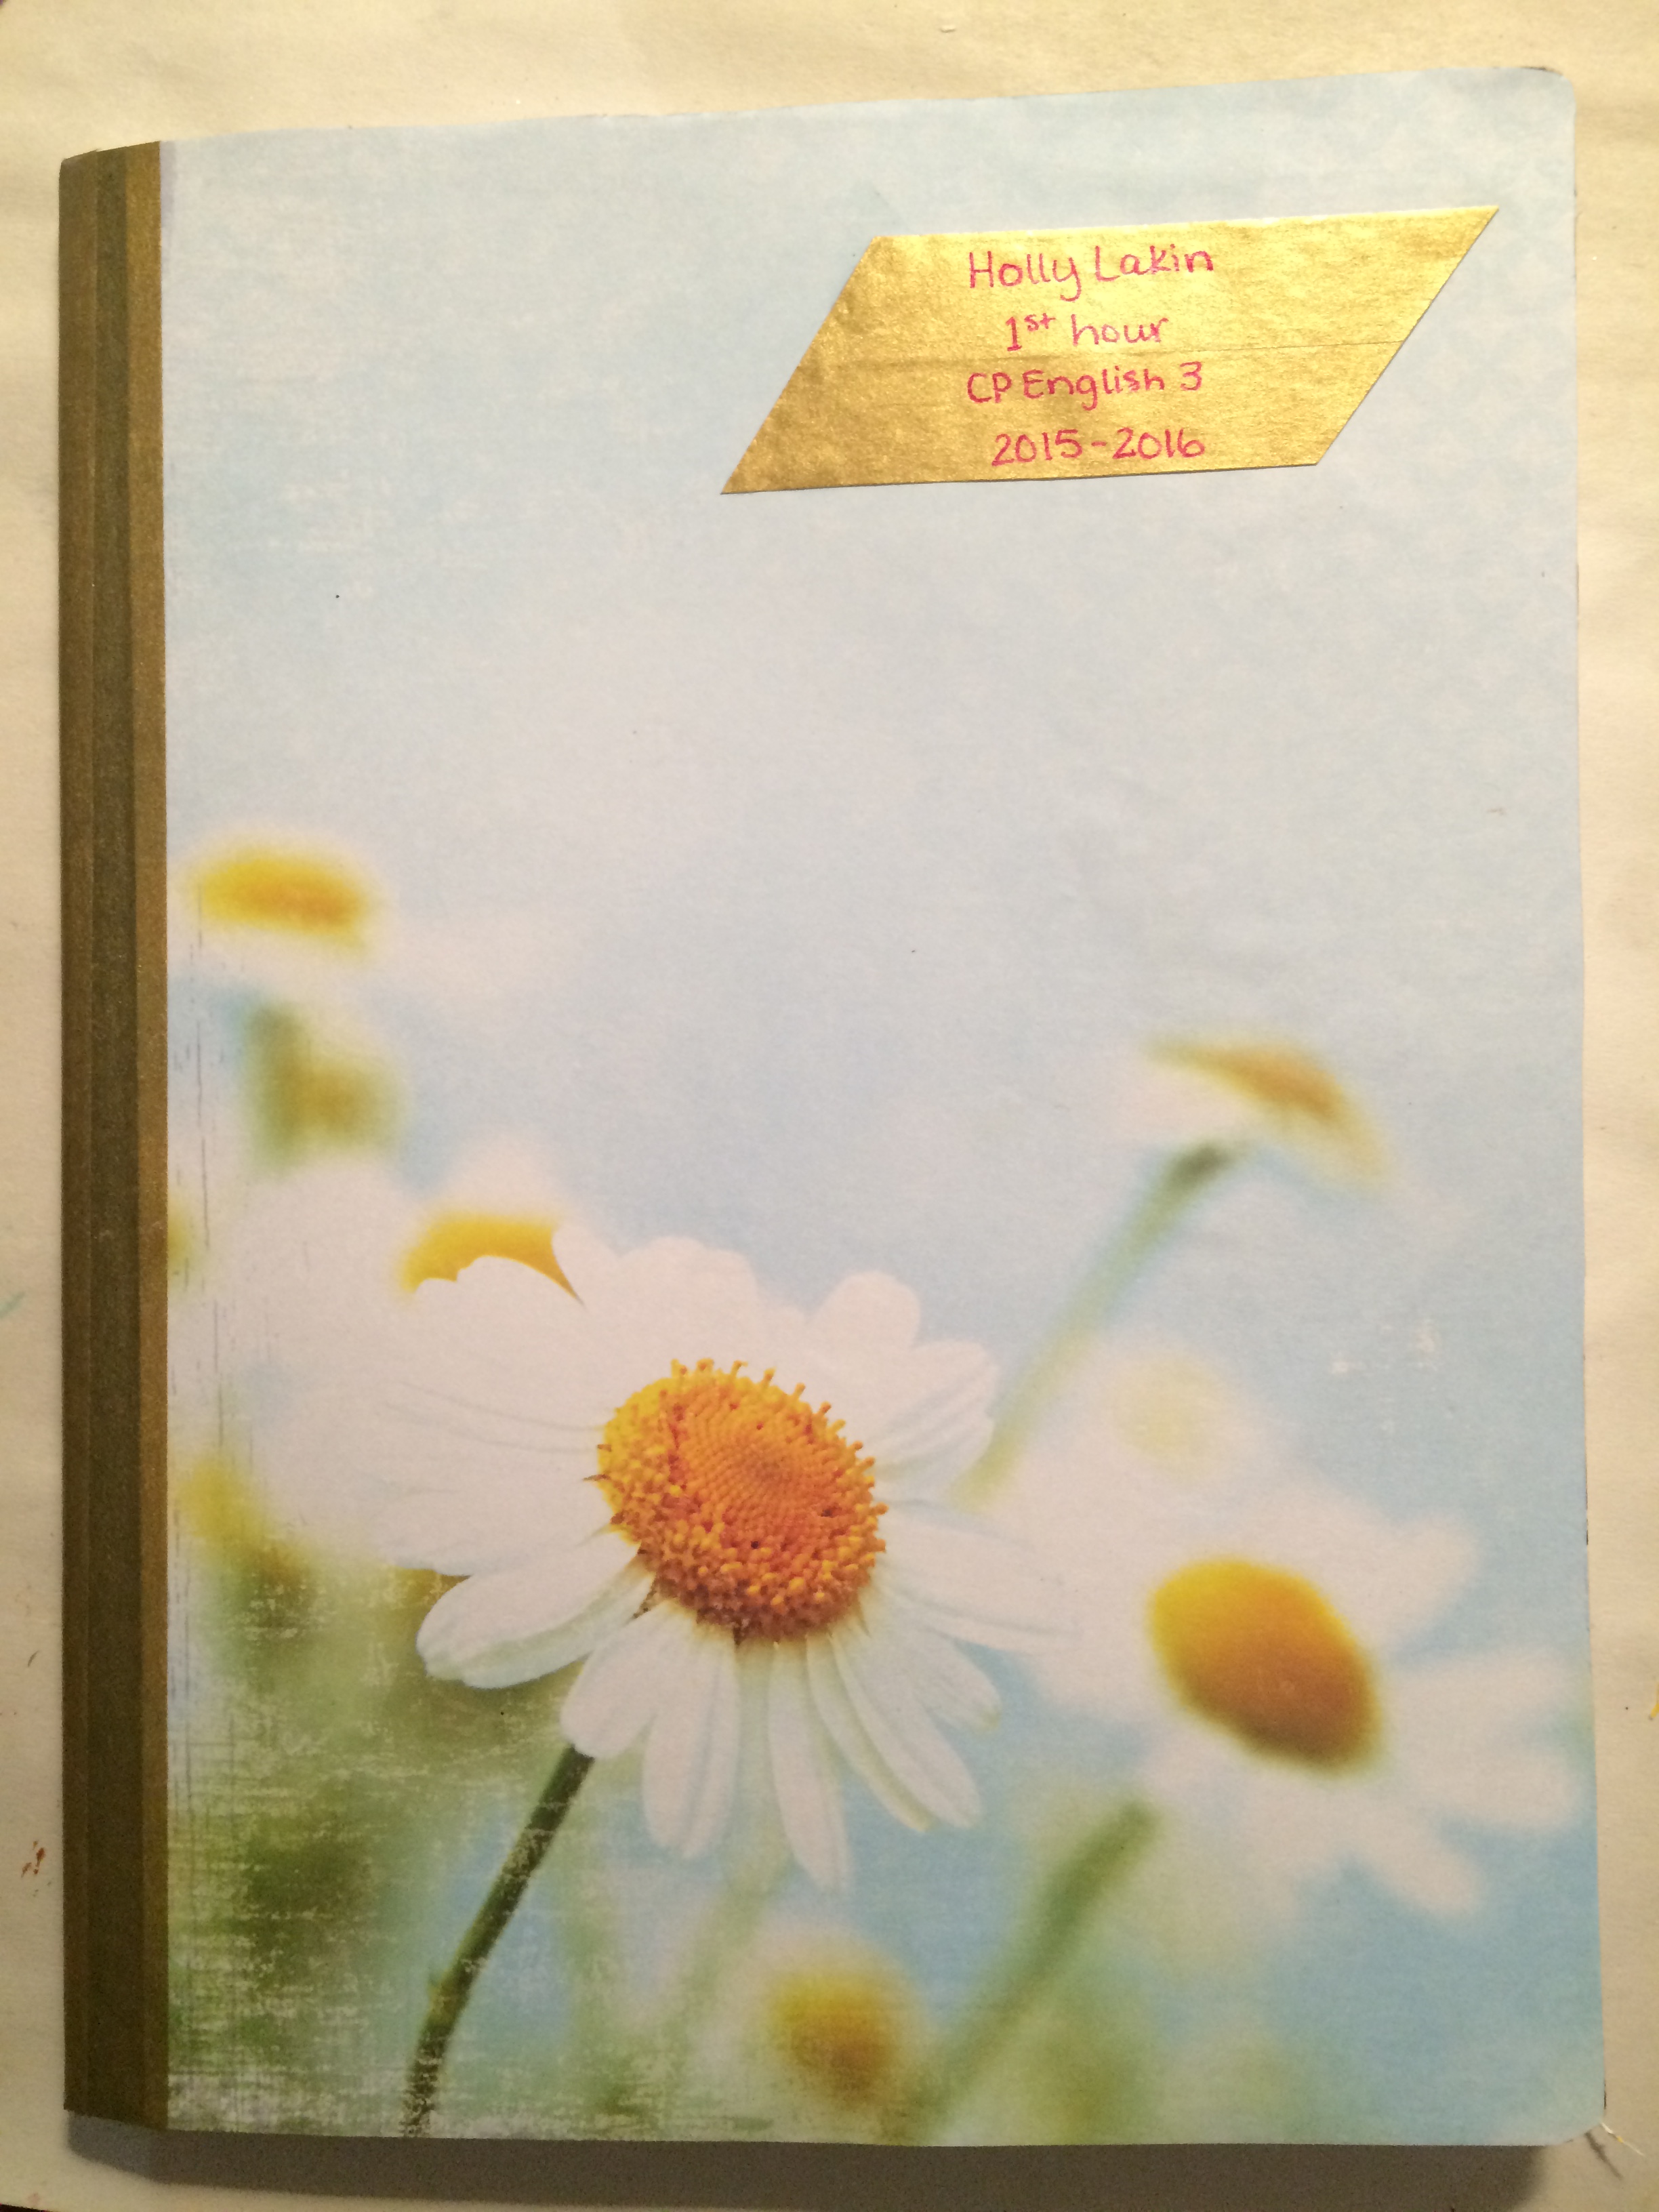
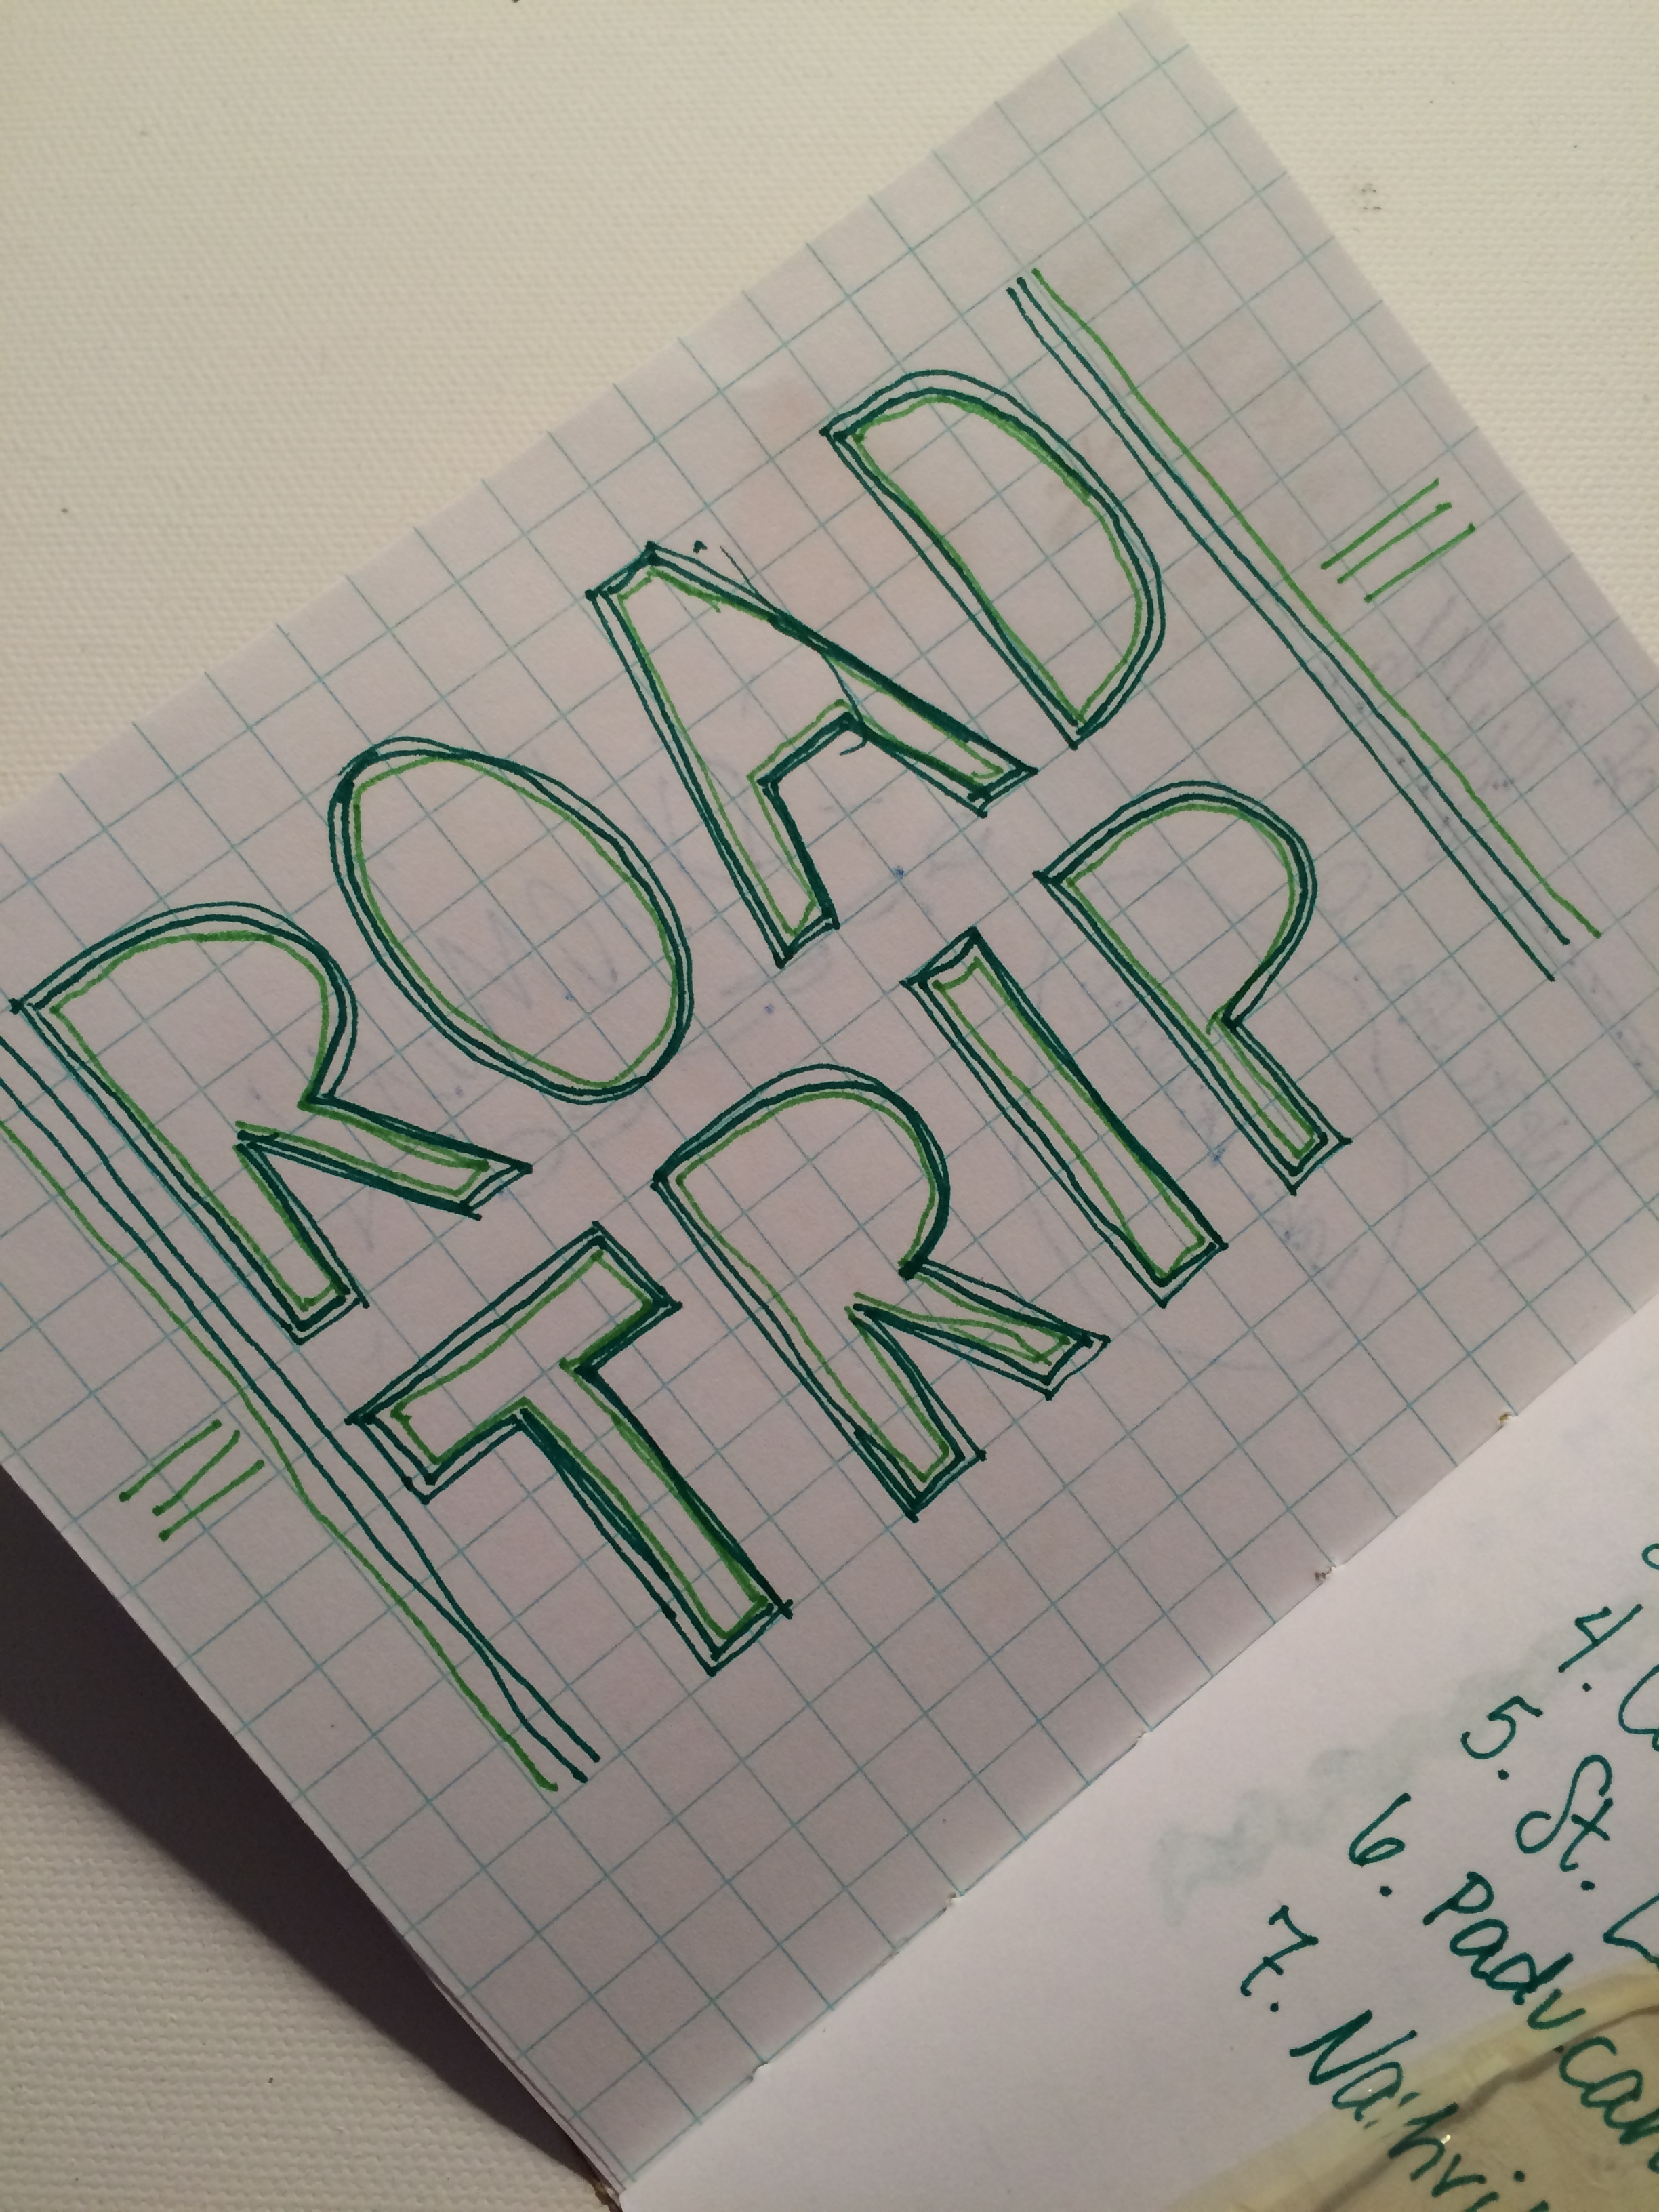
Here are some of my pages, just to give you inspiration:


I’m not sure if you can see it in the pictures, but the markers I had tended to bleed through the pages. I just used white printer paper and some gridded/lined paper for the pages, so if you love markers, you may want to use light colored construction paper, at least.
Yay! Guys, I’m obsessed with notebooks and office supplies. It’s so bad. But this is a great way to creatively journal and use up my notebooks!